How to Use Lightbox
Lightbox allows users to login to the New School Archives Digital Collections and create curated sets of objects. This can be a helpful way to save material for later reference while performing research in the Archives and share sets with others for group projects.
Step 1. Login to Lightbox
As a first-time user, you will need to create an account by visiting the Digital Collections and selecting the profile icon to the right of the search bar.
Step 2. Select Objects for a New Set
Objects can be added to a new or existing set by selecting results from a search query. In the image below, a search for the phrase "fashion design" was performed, then the decade "1980s" was selected from the Filters sidebar, along with "Drawing/Painting/Print" from the Type of Work category. All of the results, or a selection, can be added to a new set by using the gear icon to the right of the object results figure.
Step 3. Features from the Lightbox View
Once a set has been created, it can be opened by selecting “Lightbox” from the profile icon to the right of the search bar. This will provide a view of all custom sets. Once a set has been opened, there are various features that will support different levels of organization and viewing. Here are some examples:
Glance Through Media
From the set view, clicking on an object will expand the image and allow for zooming. If a user wishes to view details related to the archival material, exiting out of the media view and selecting the title of the object will navigate to the item page.
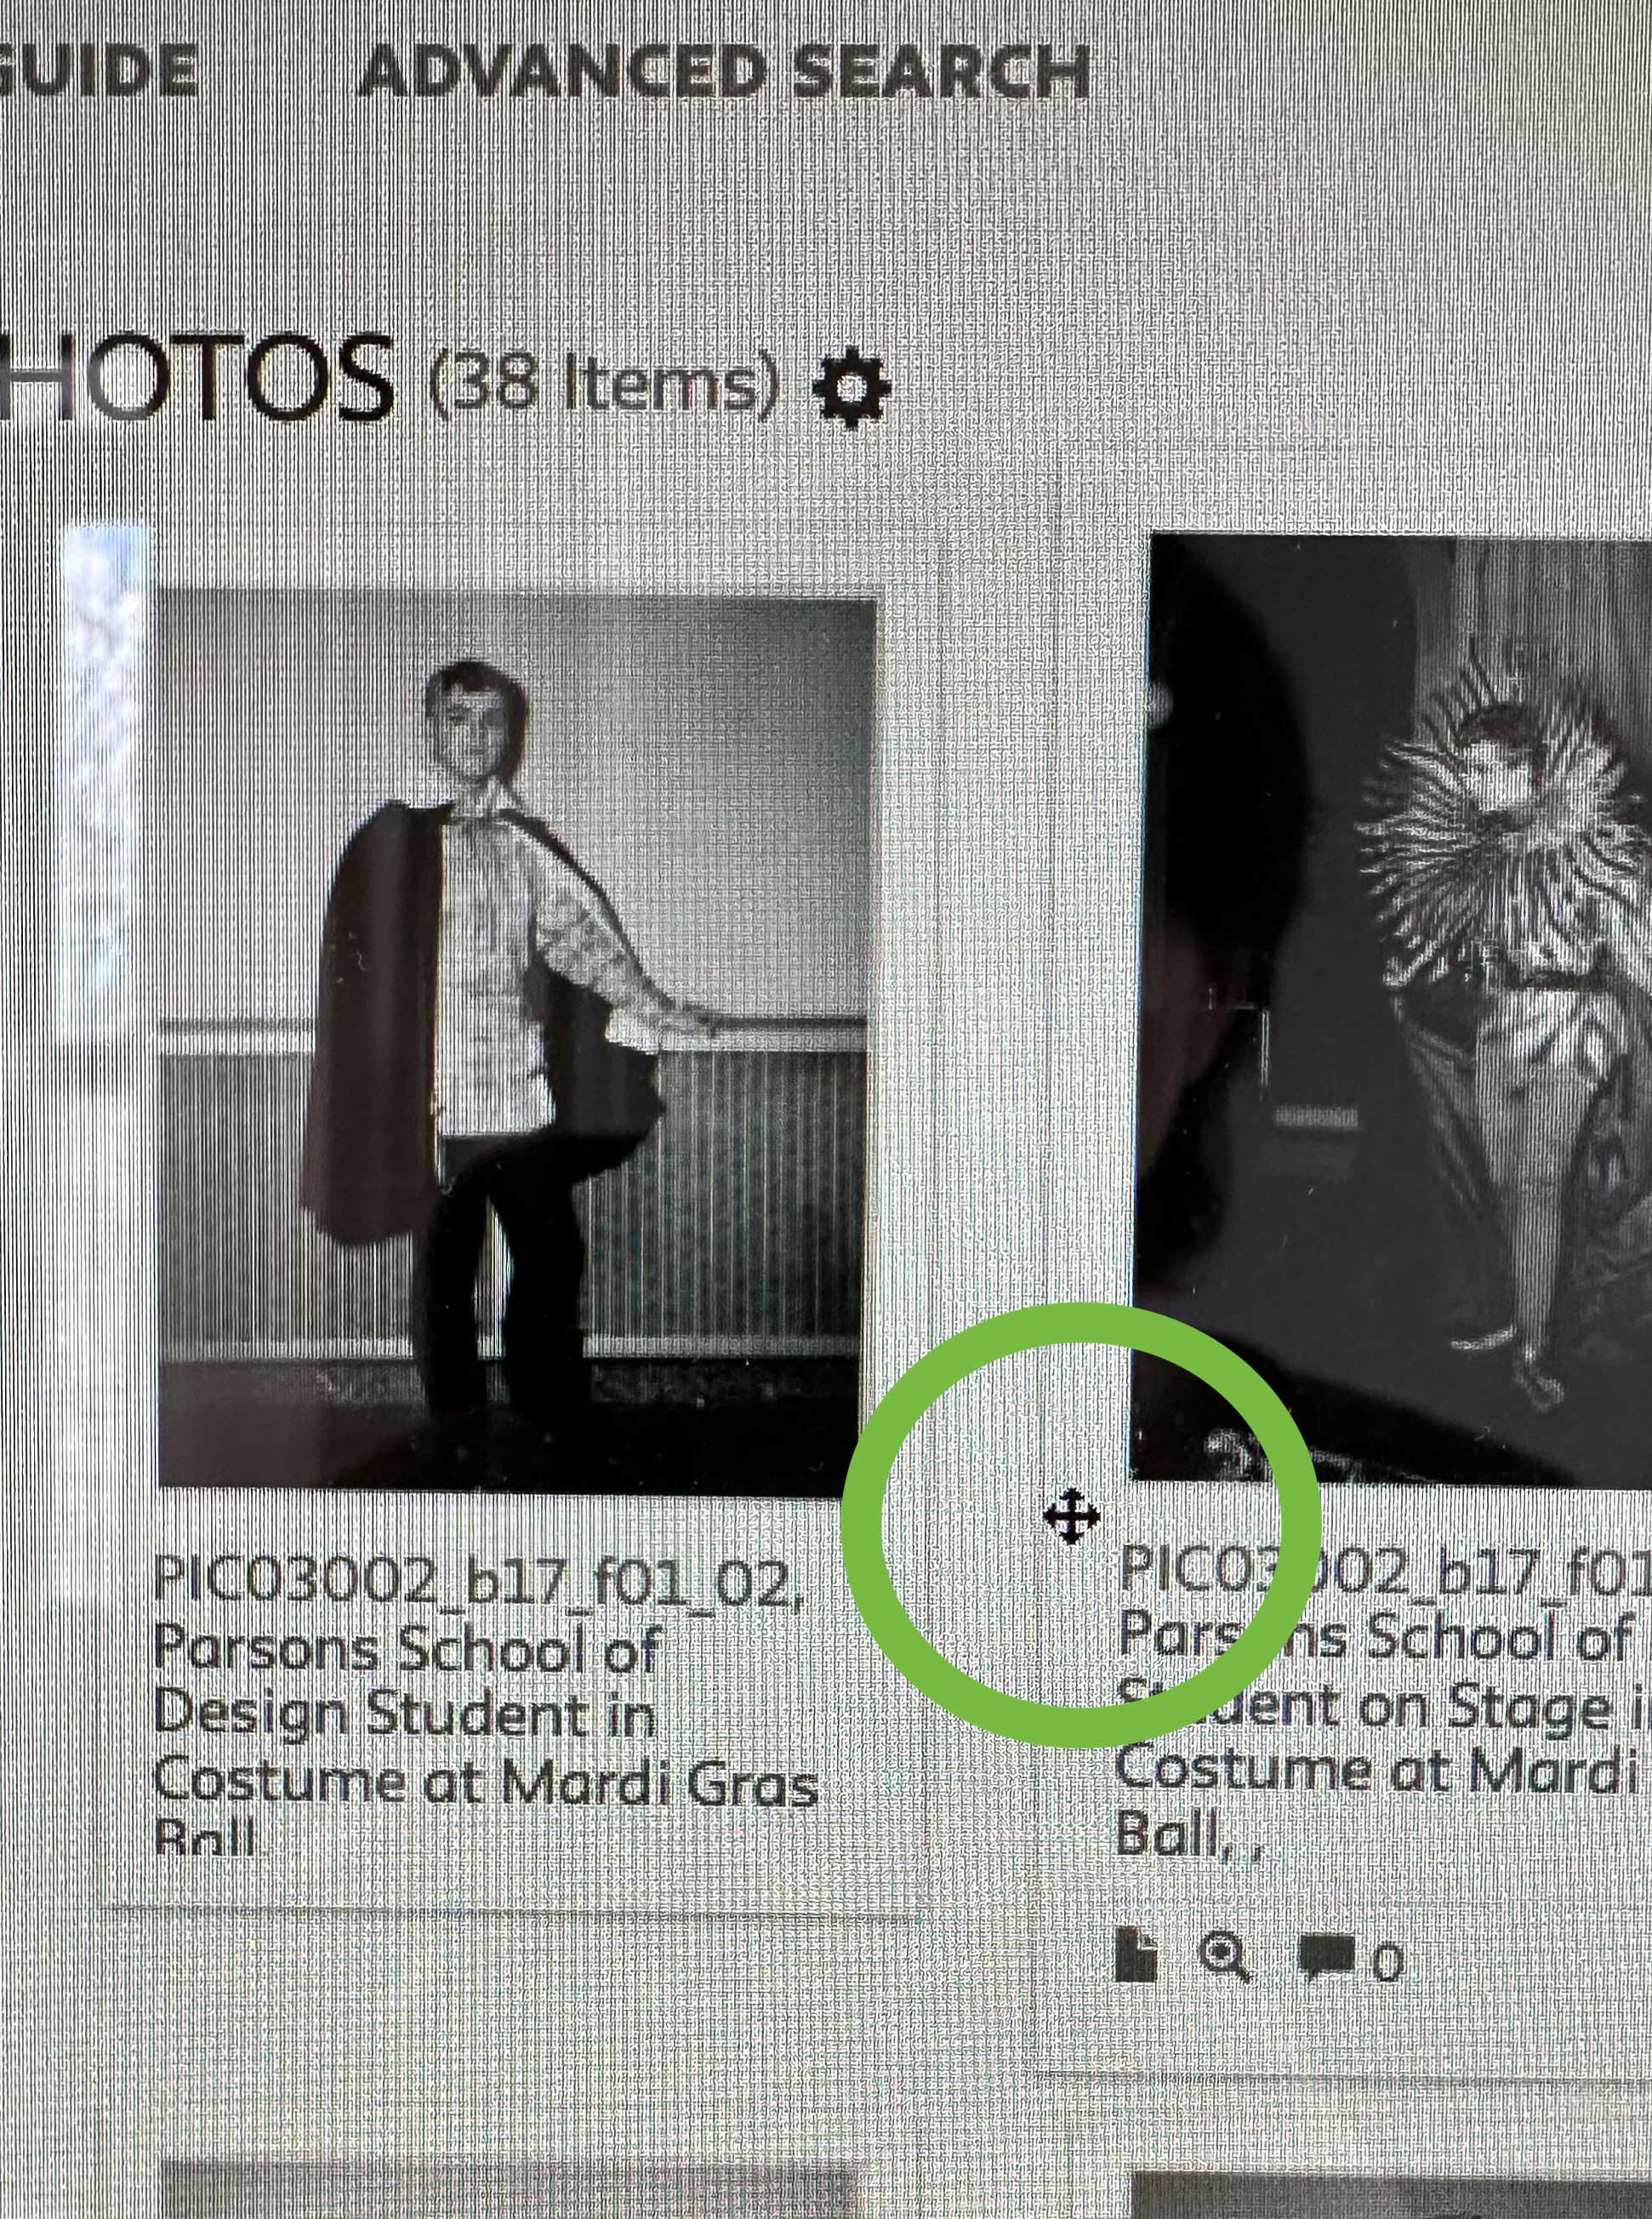
Move Objects into a Custom Order
A four arrow icon will appear when you hover over the title of an object in the search results. This will allow you to drag objects into a custom order of relevance.

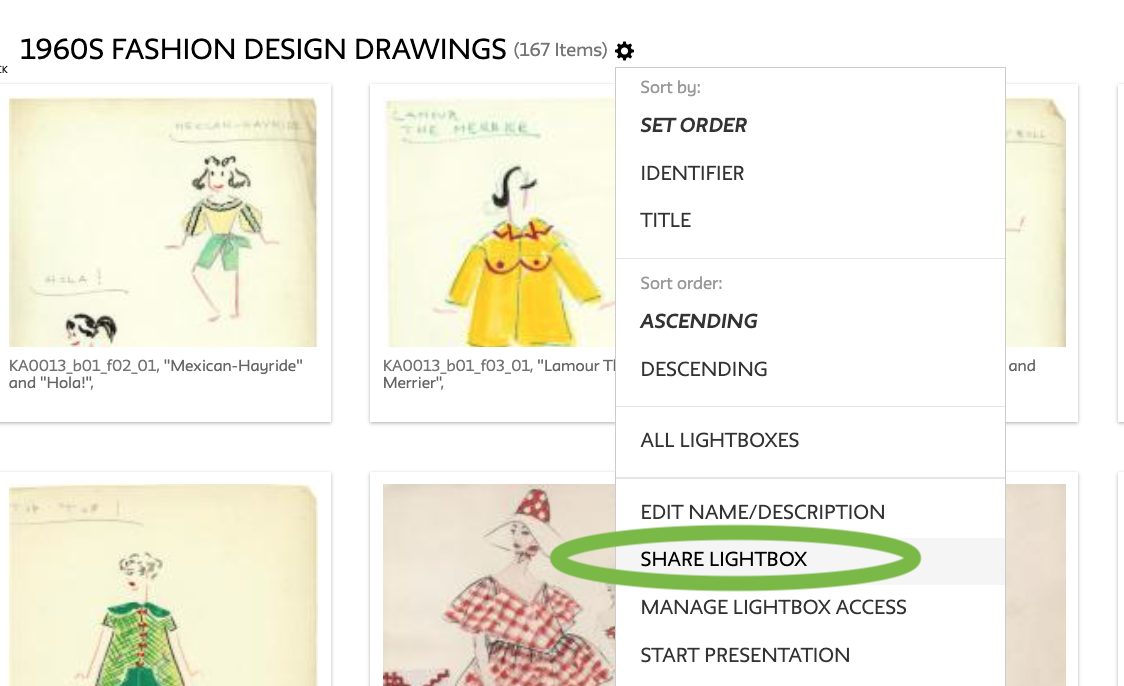
Create a Collaborative Set
Sets can be shared with others via email to share comments on specific objects, and co-curating of material. From your set view, select the settings icon and choose “Share Lightbox” from the dropdown menu.

